APPLICATION
Once you’ve done all of the necessary prep work, you’re ready to spray. Just follow these easy instructions. This is a quick summary on the application of LizardSkin products.
Open the lid of the product you want to apply. When using both products (stacking) ALWAYS apply Sound Control FIRST, then apply Ceramic Insulation on top.
Use the drill and mixing paddle to mix the contents of the bucket. The product should be the consistency of a milkshake, which shouldn’t take longer than 2 minutes.
Remove the cup from the sprayer and place it on something to protect your garage floor in case you spill. Pick up the bucket and pour it into the cup. Holding the bucket about 12-16 inches above the cup will allow the product to flow down to a narrow ribbon, allowing for a clean pour.
Adjust the tip of the sprayer. Turn the tip inward until it stops then back out the tip with 2 (two) turns out. This is a good starting point that will minimize the tip adjustment time. Most find it works well from here, and usually only requires small adjustments from this point.
Attach the cup to the sprayer and test the fan and pressure by spraying it at a piece of cardboard or into a trashcan. Just pump it a few times and adjust the nozzle and air pressure accordingly. Once you have a good fan, begin spraying your substrate holding the sprayer tip approximately 6-9 inches away from the substrate.
Recommended air pressures:
LizardSkin Sound Control – 40-60 PSI
LizardSkin Ceramic Insulation – 50-70 PSI
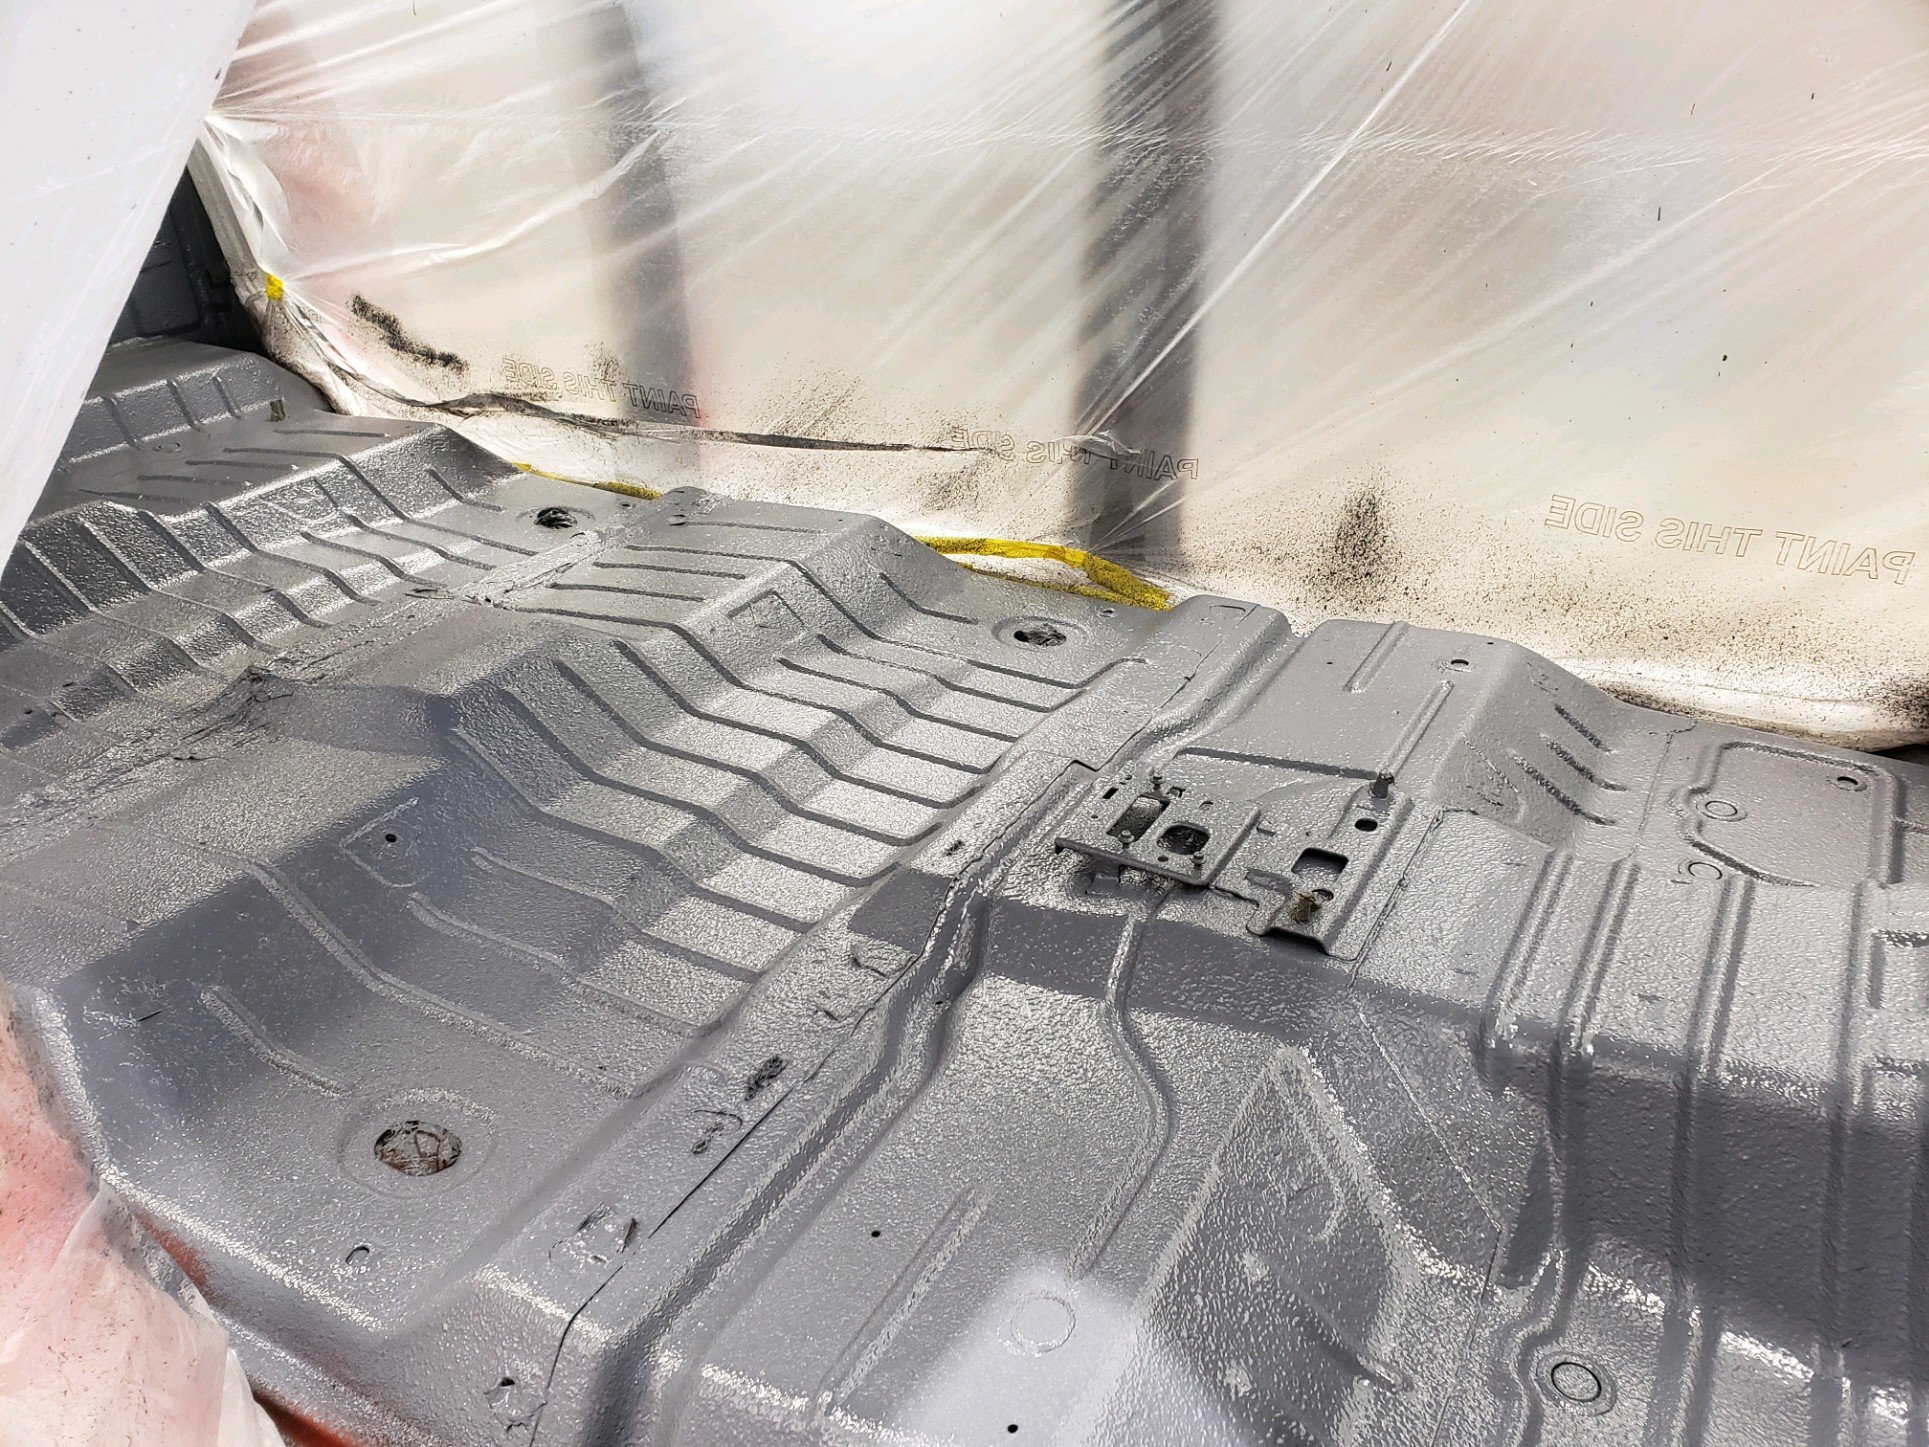
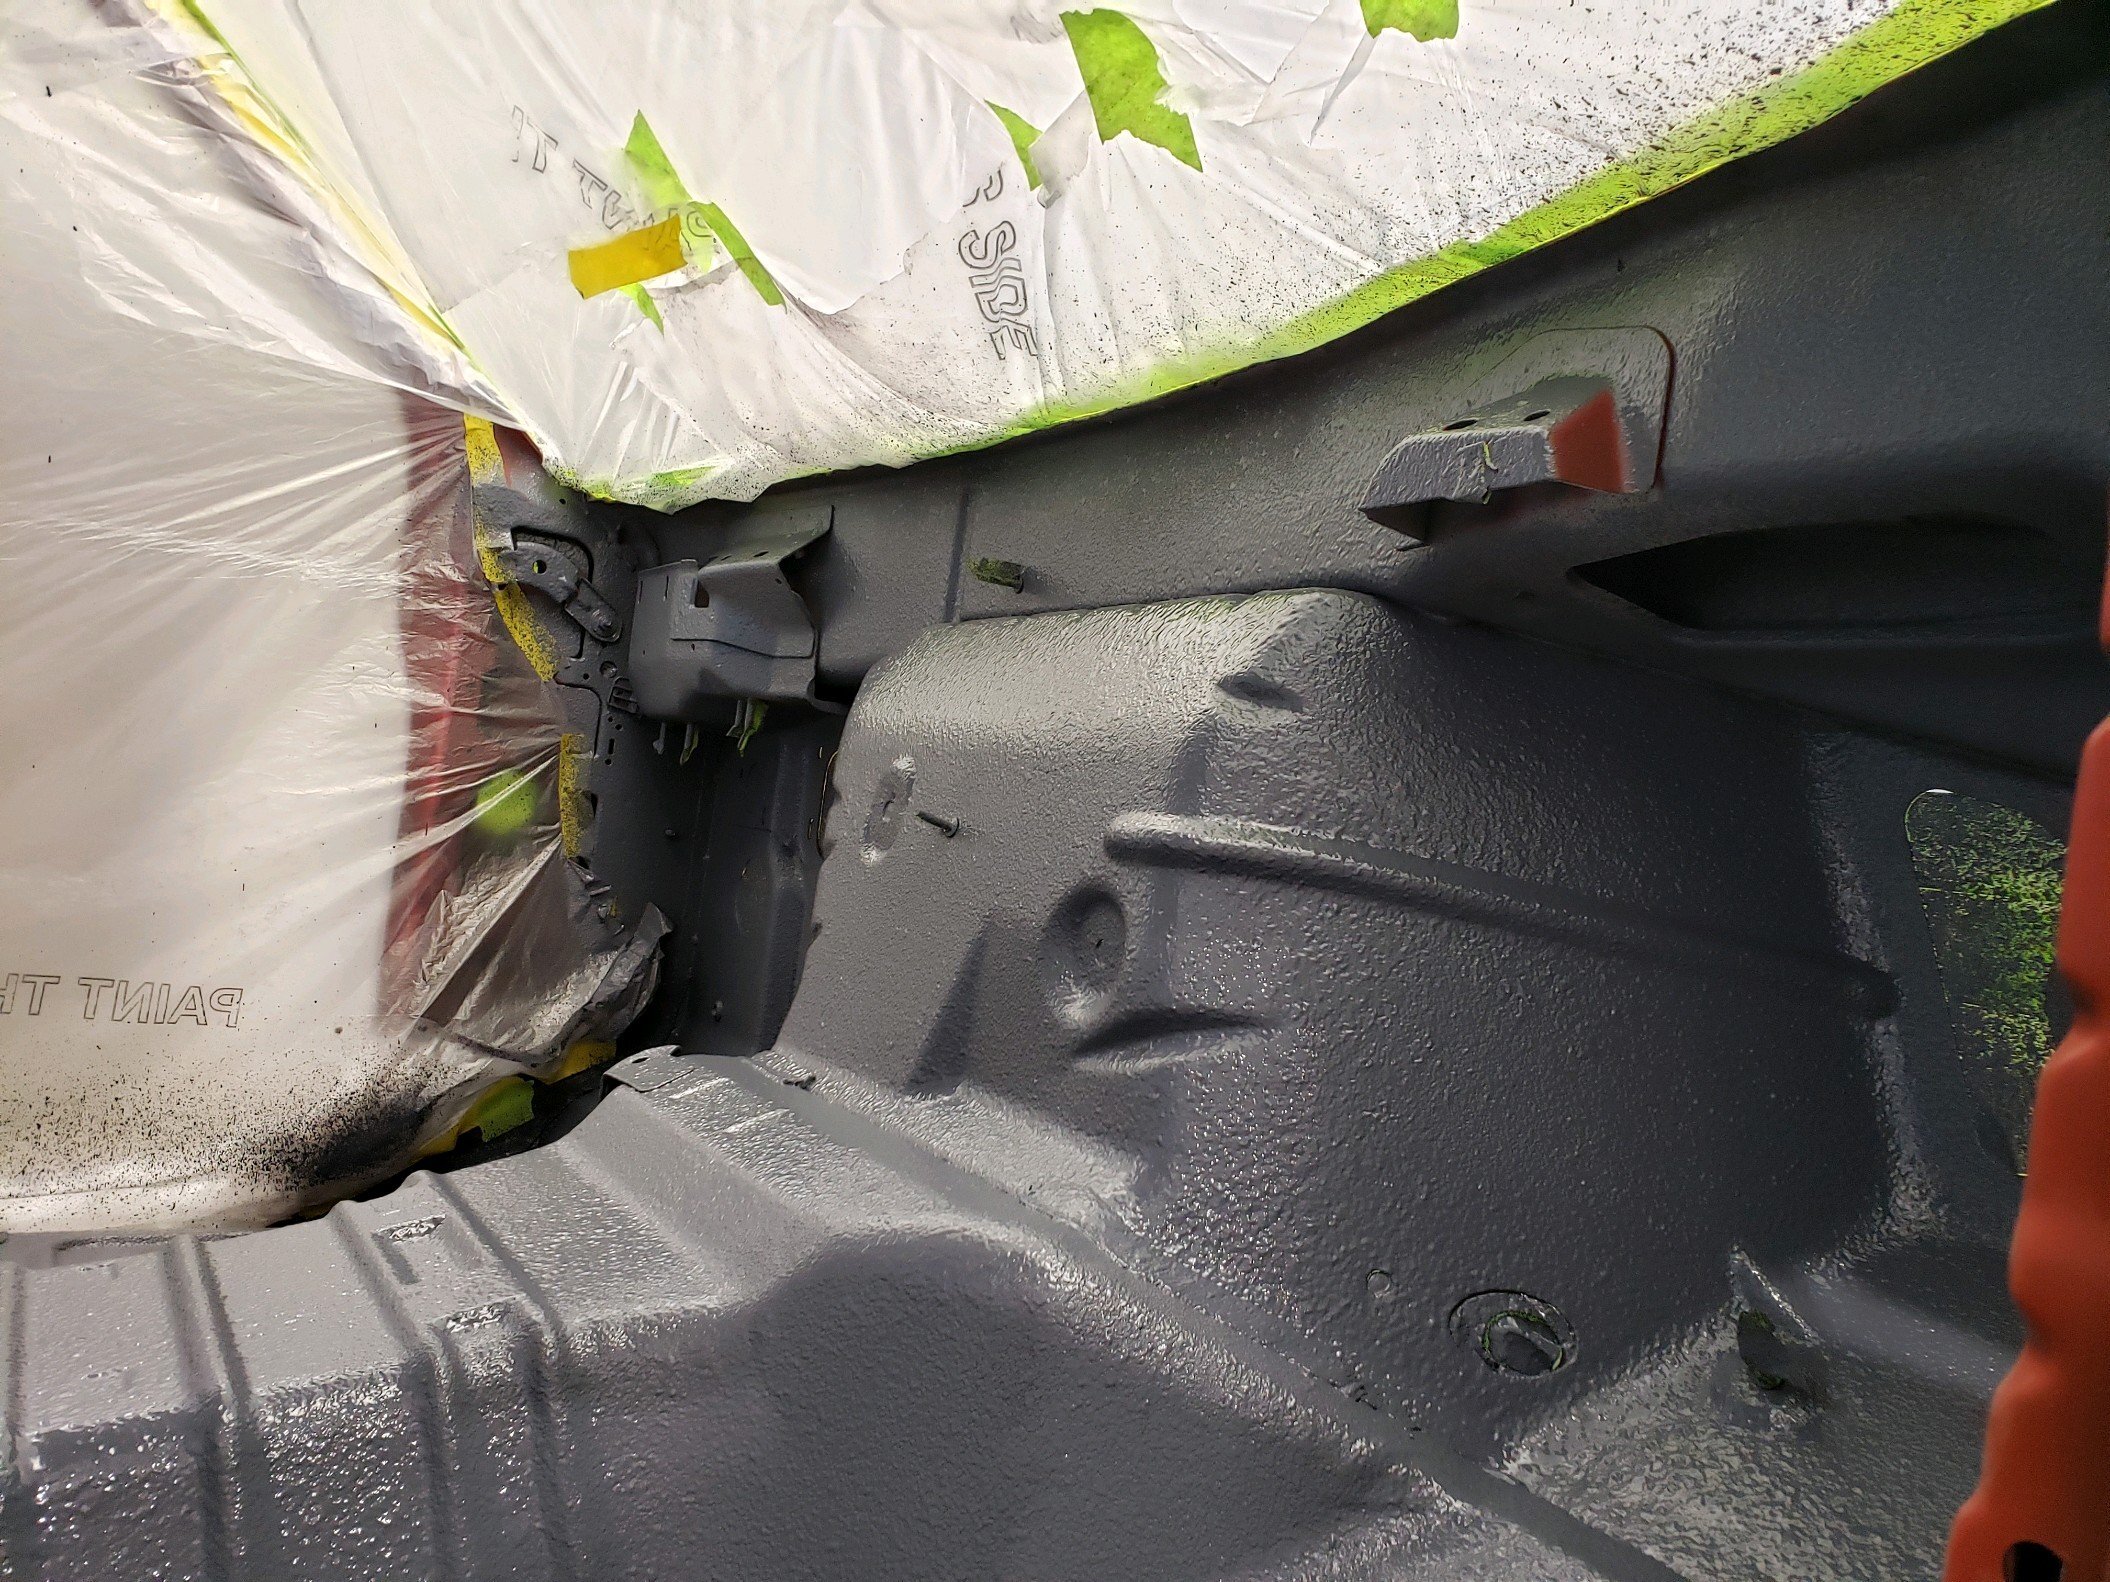
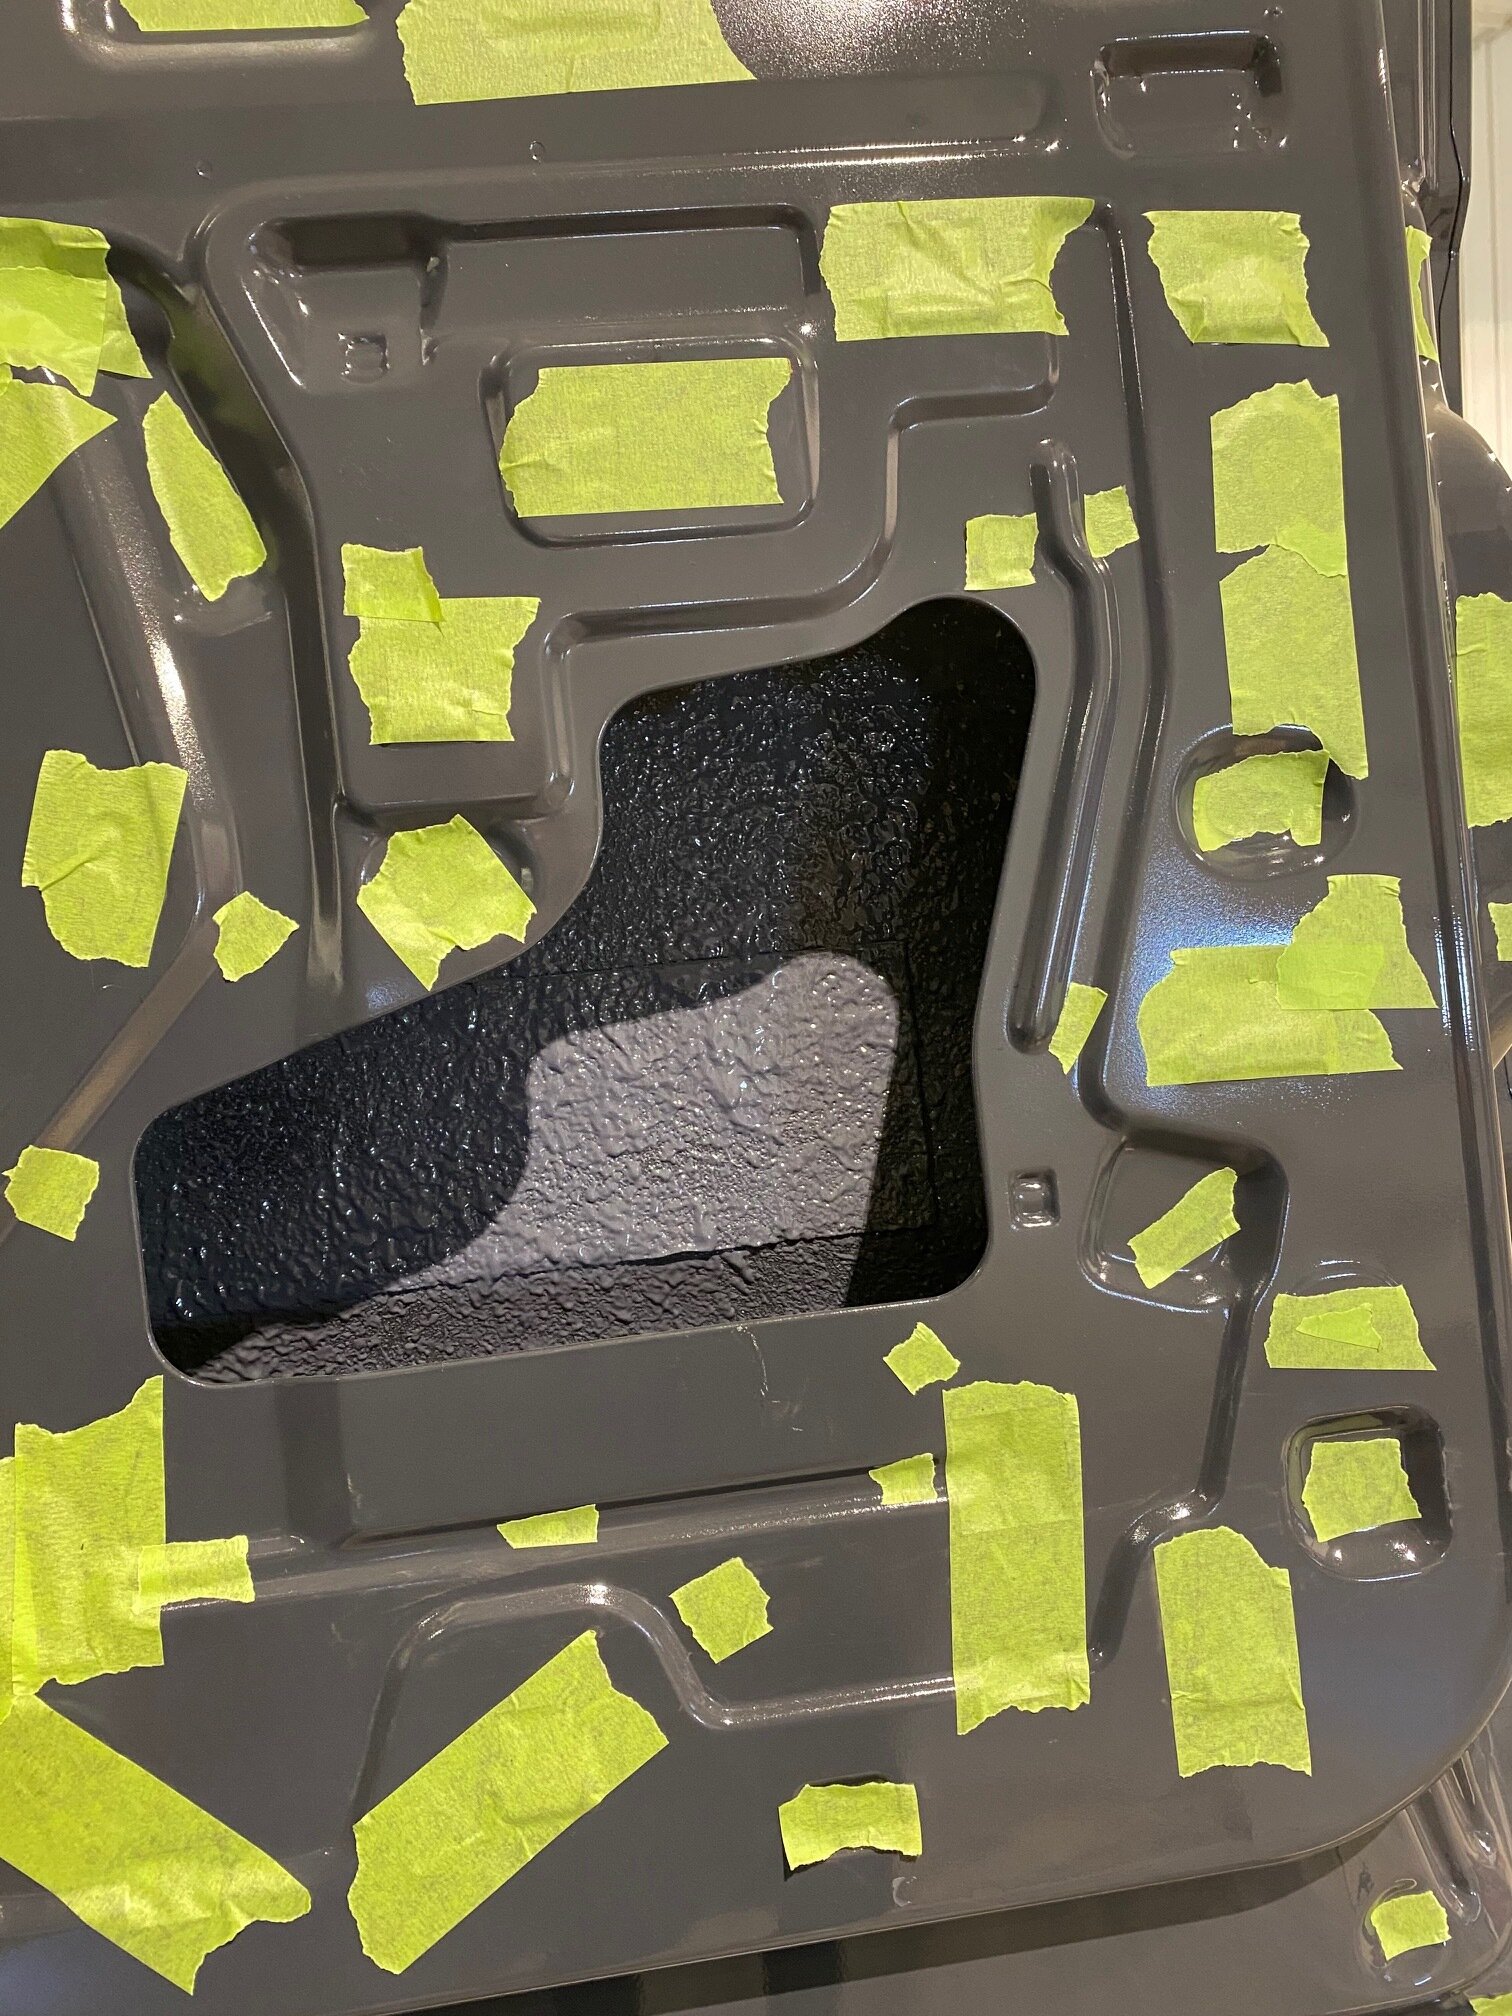
Spray evenly across the substrate with a sweeping motion. Usually two passes gives you the desired thickness of product per coat (20 mils or 0.5 mm.) Measure using the Mil Thickness Gauge supplied in the Application Kit. Once the first coat is dry to the touch (between 30 and 60 minutes) follow with the second coat.
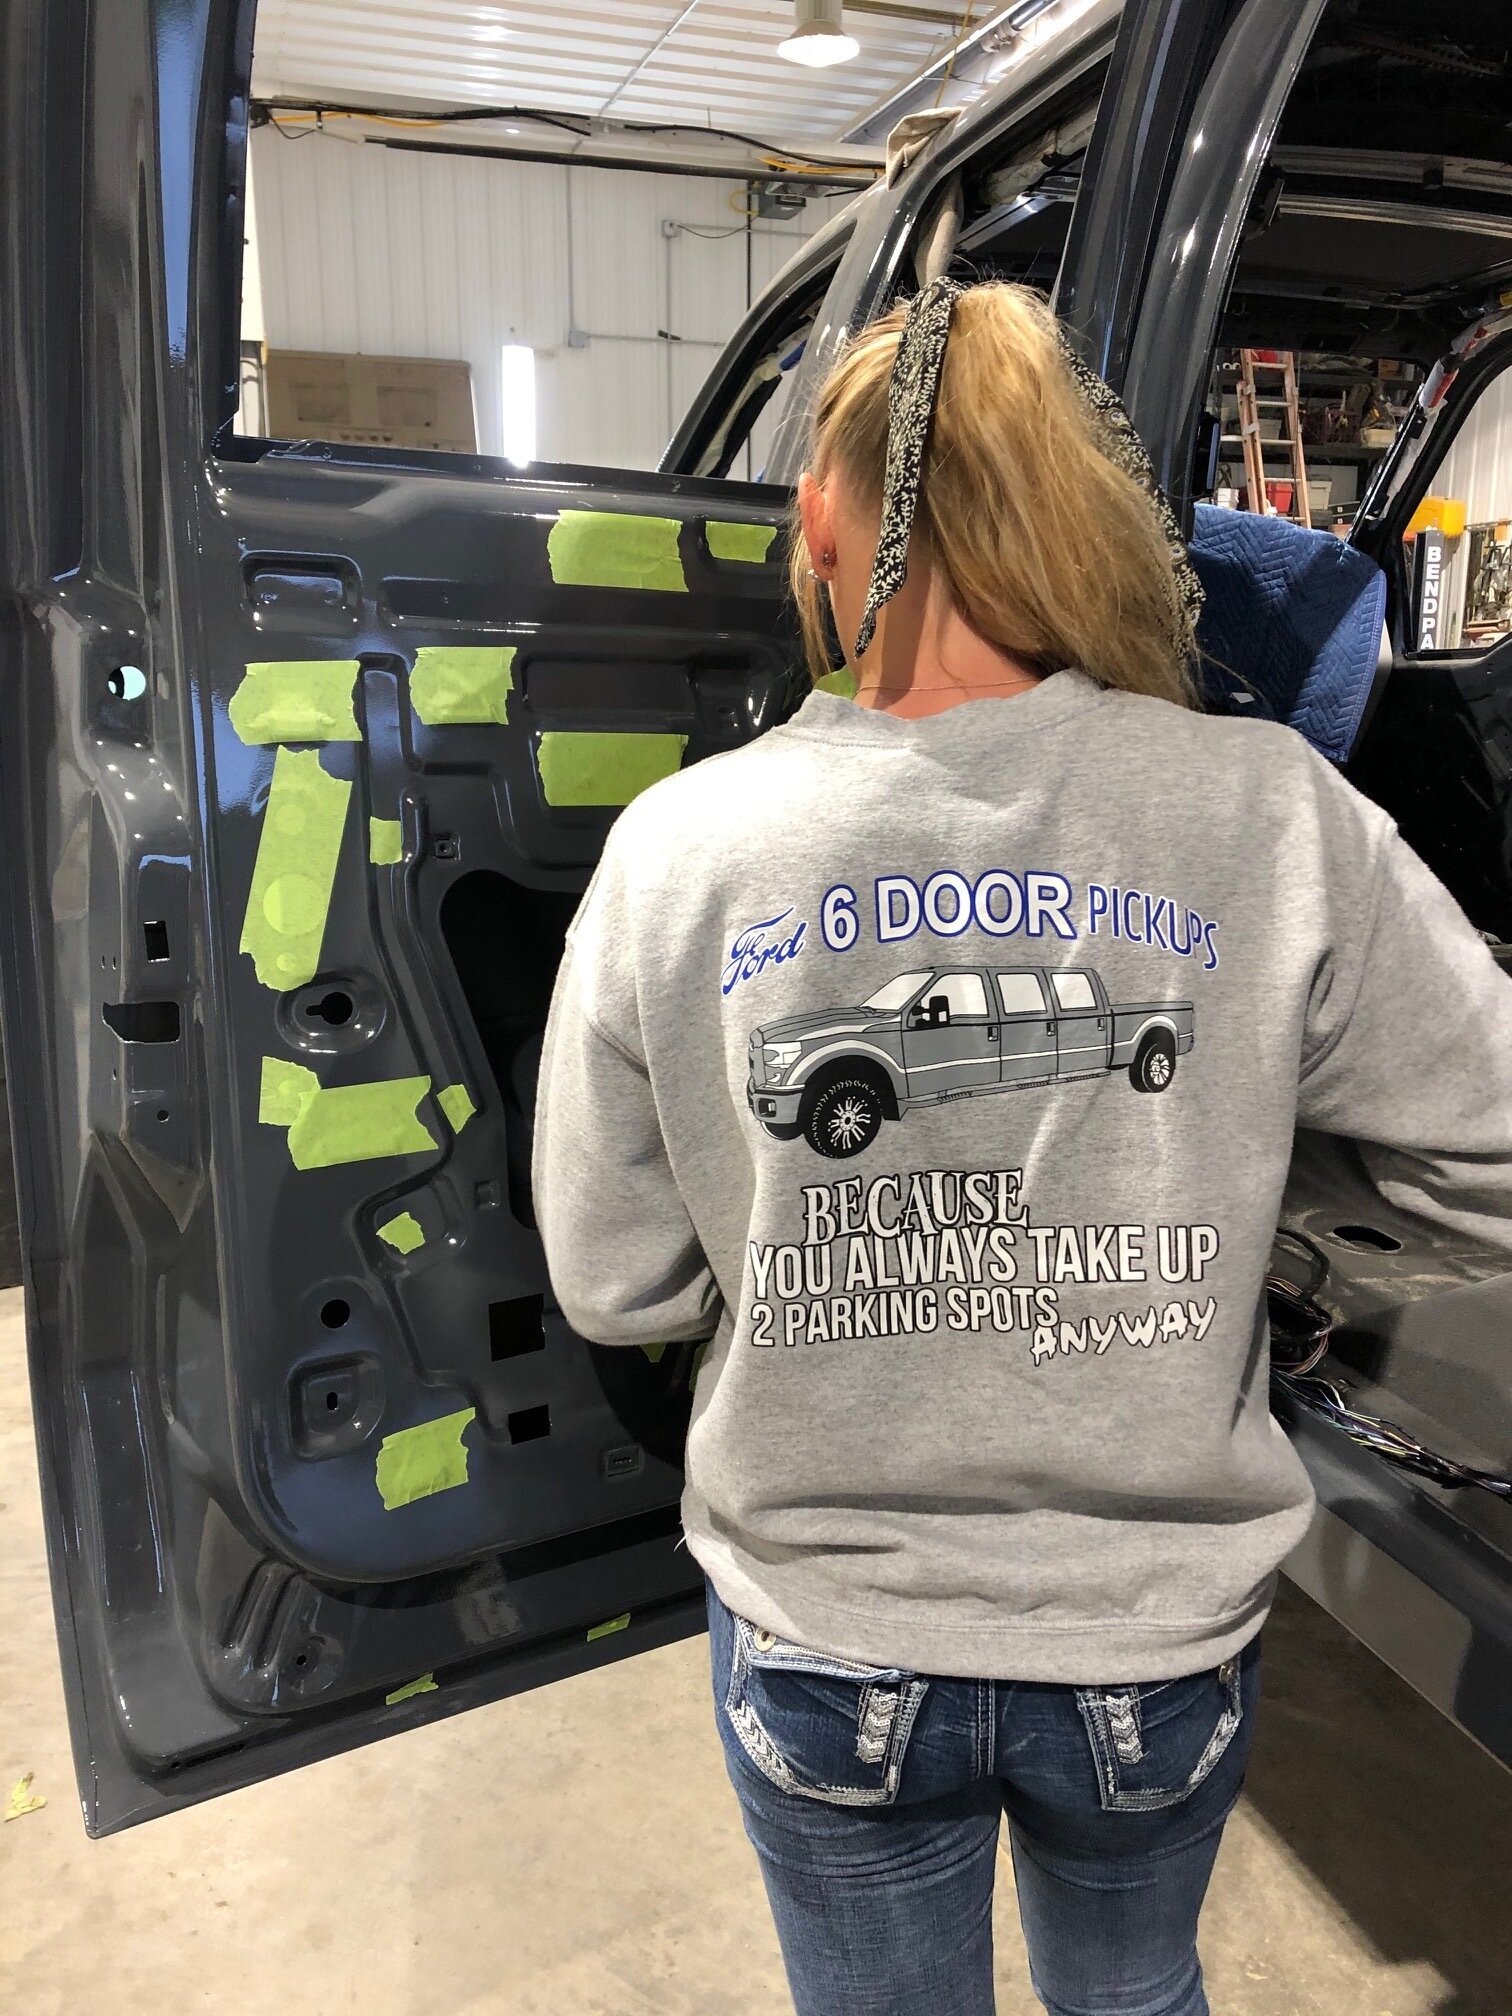
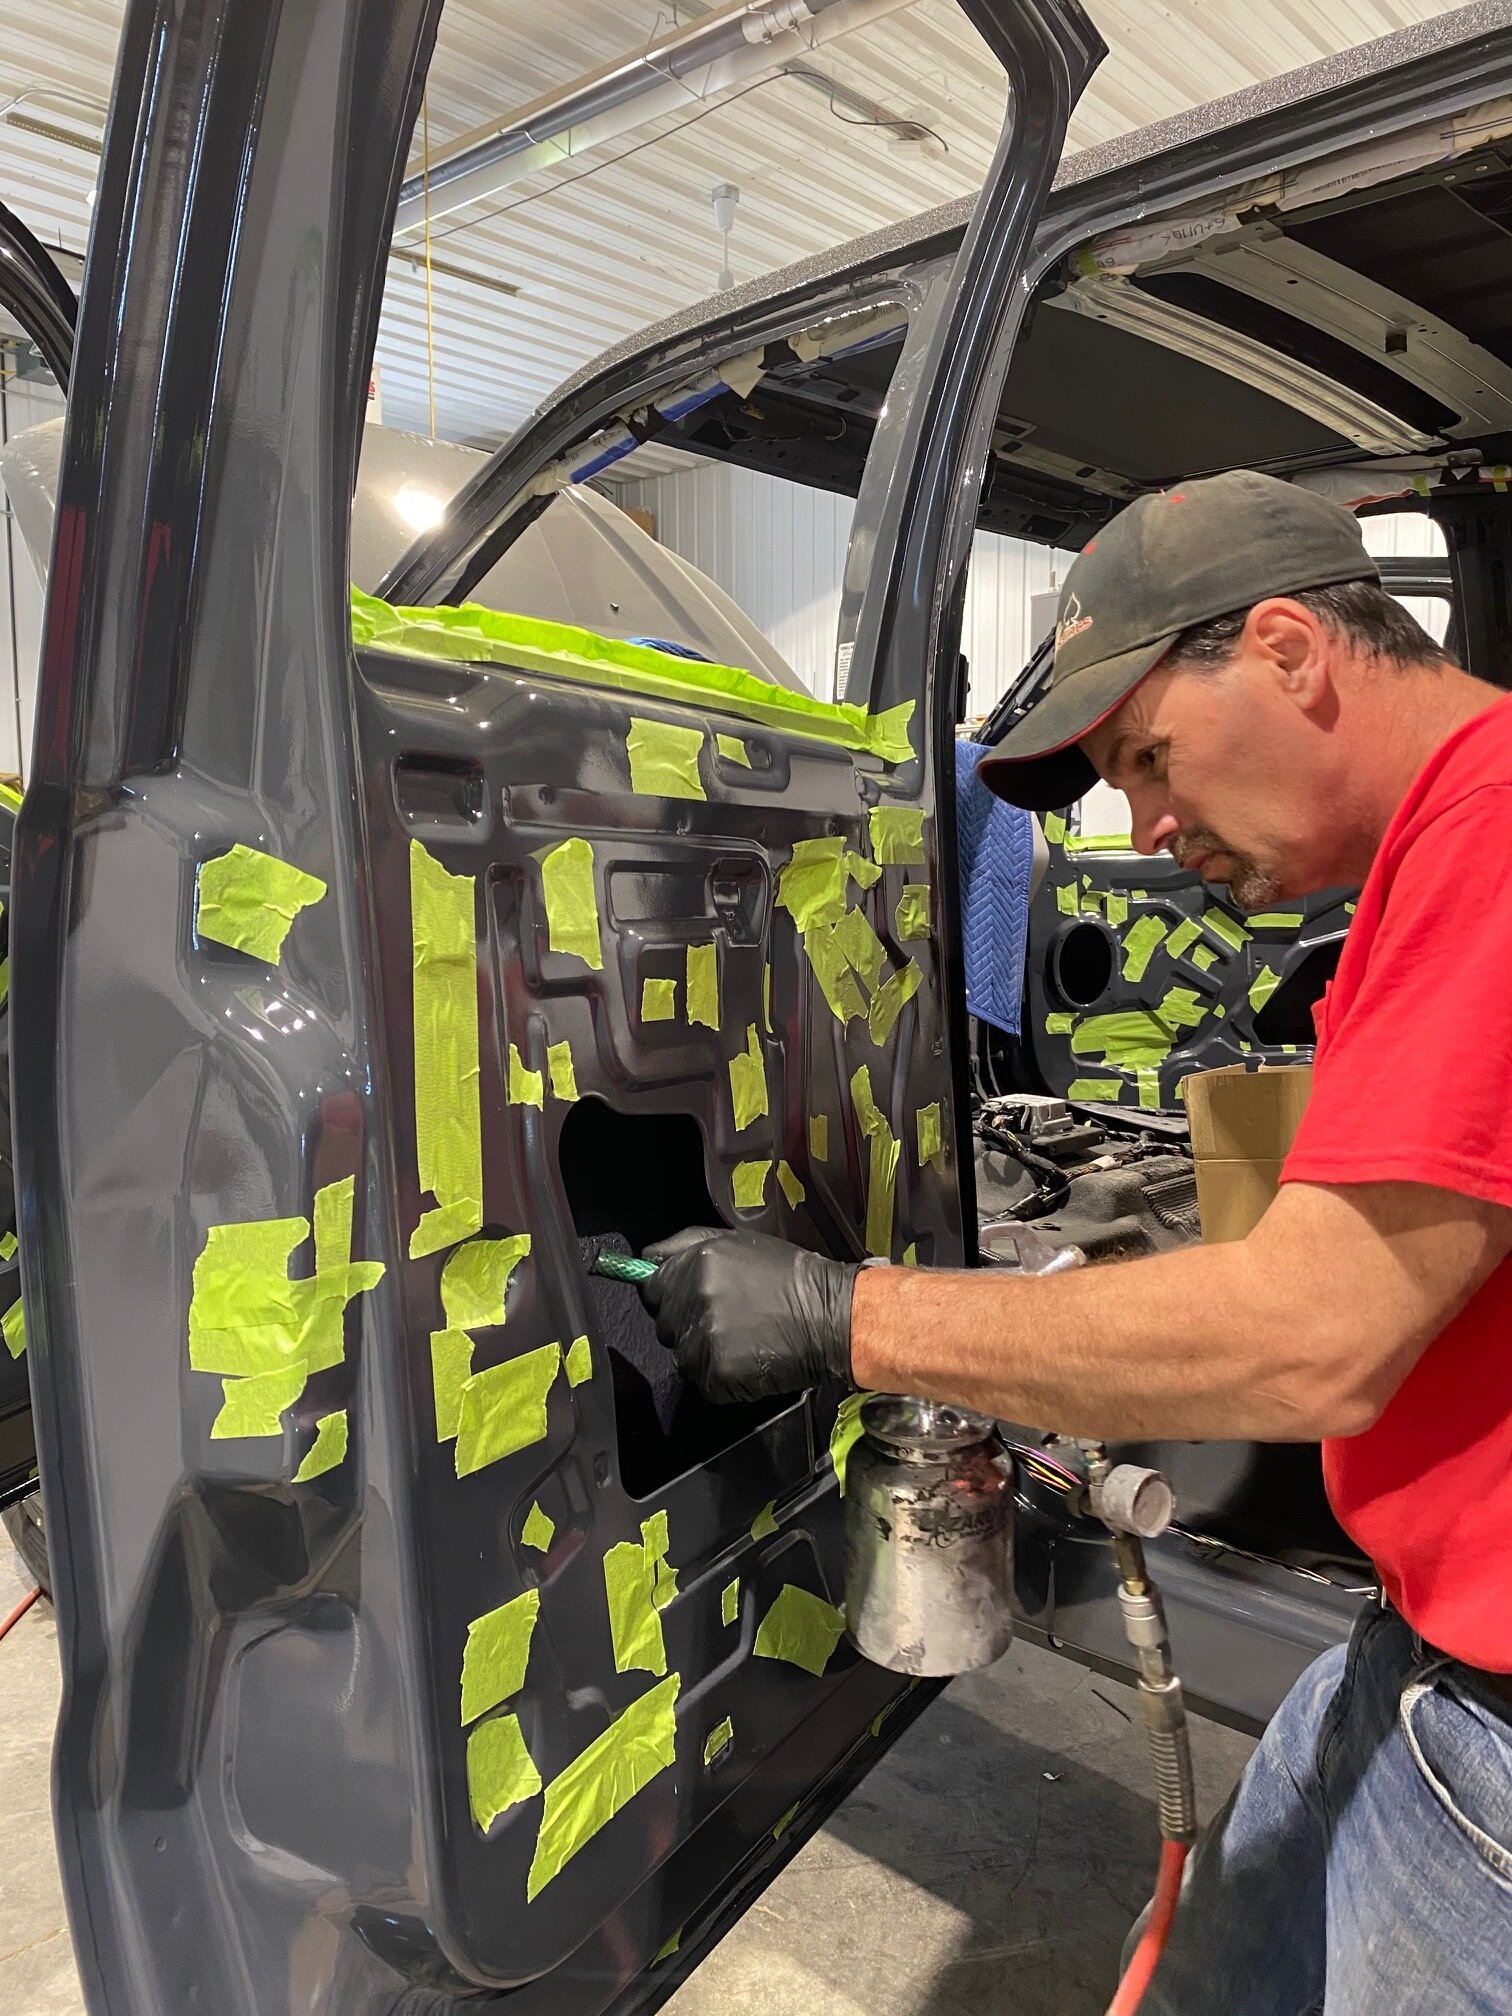
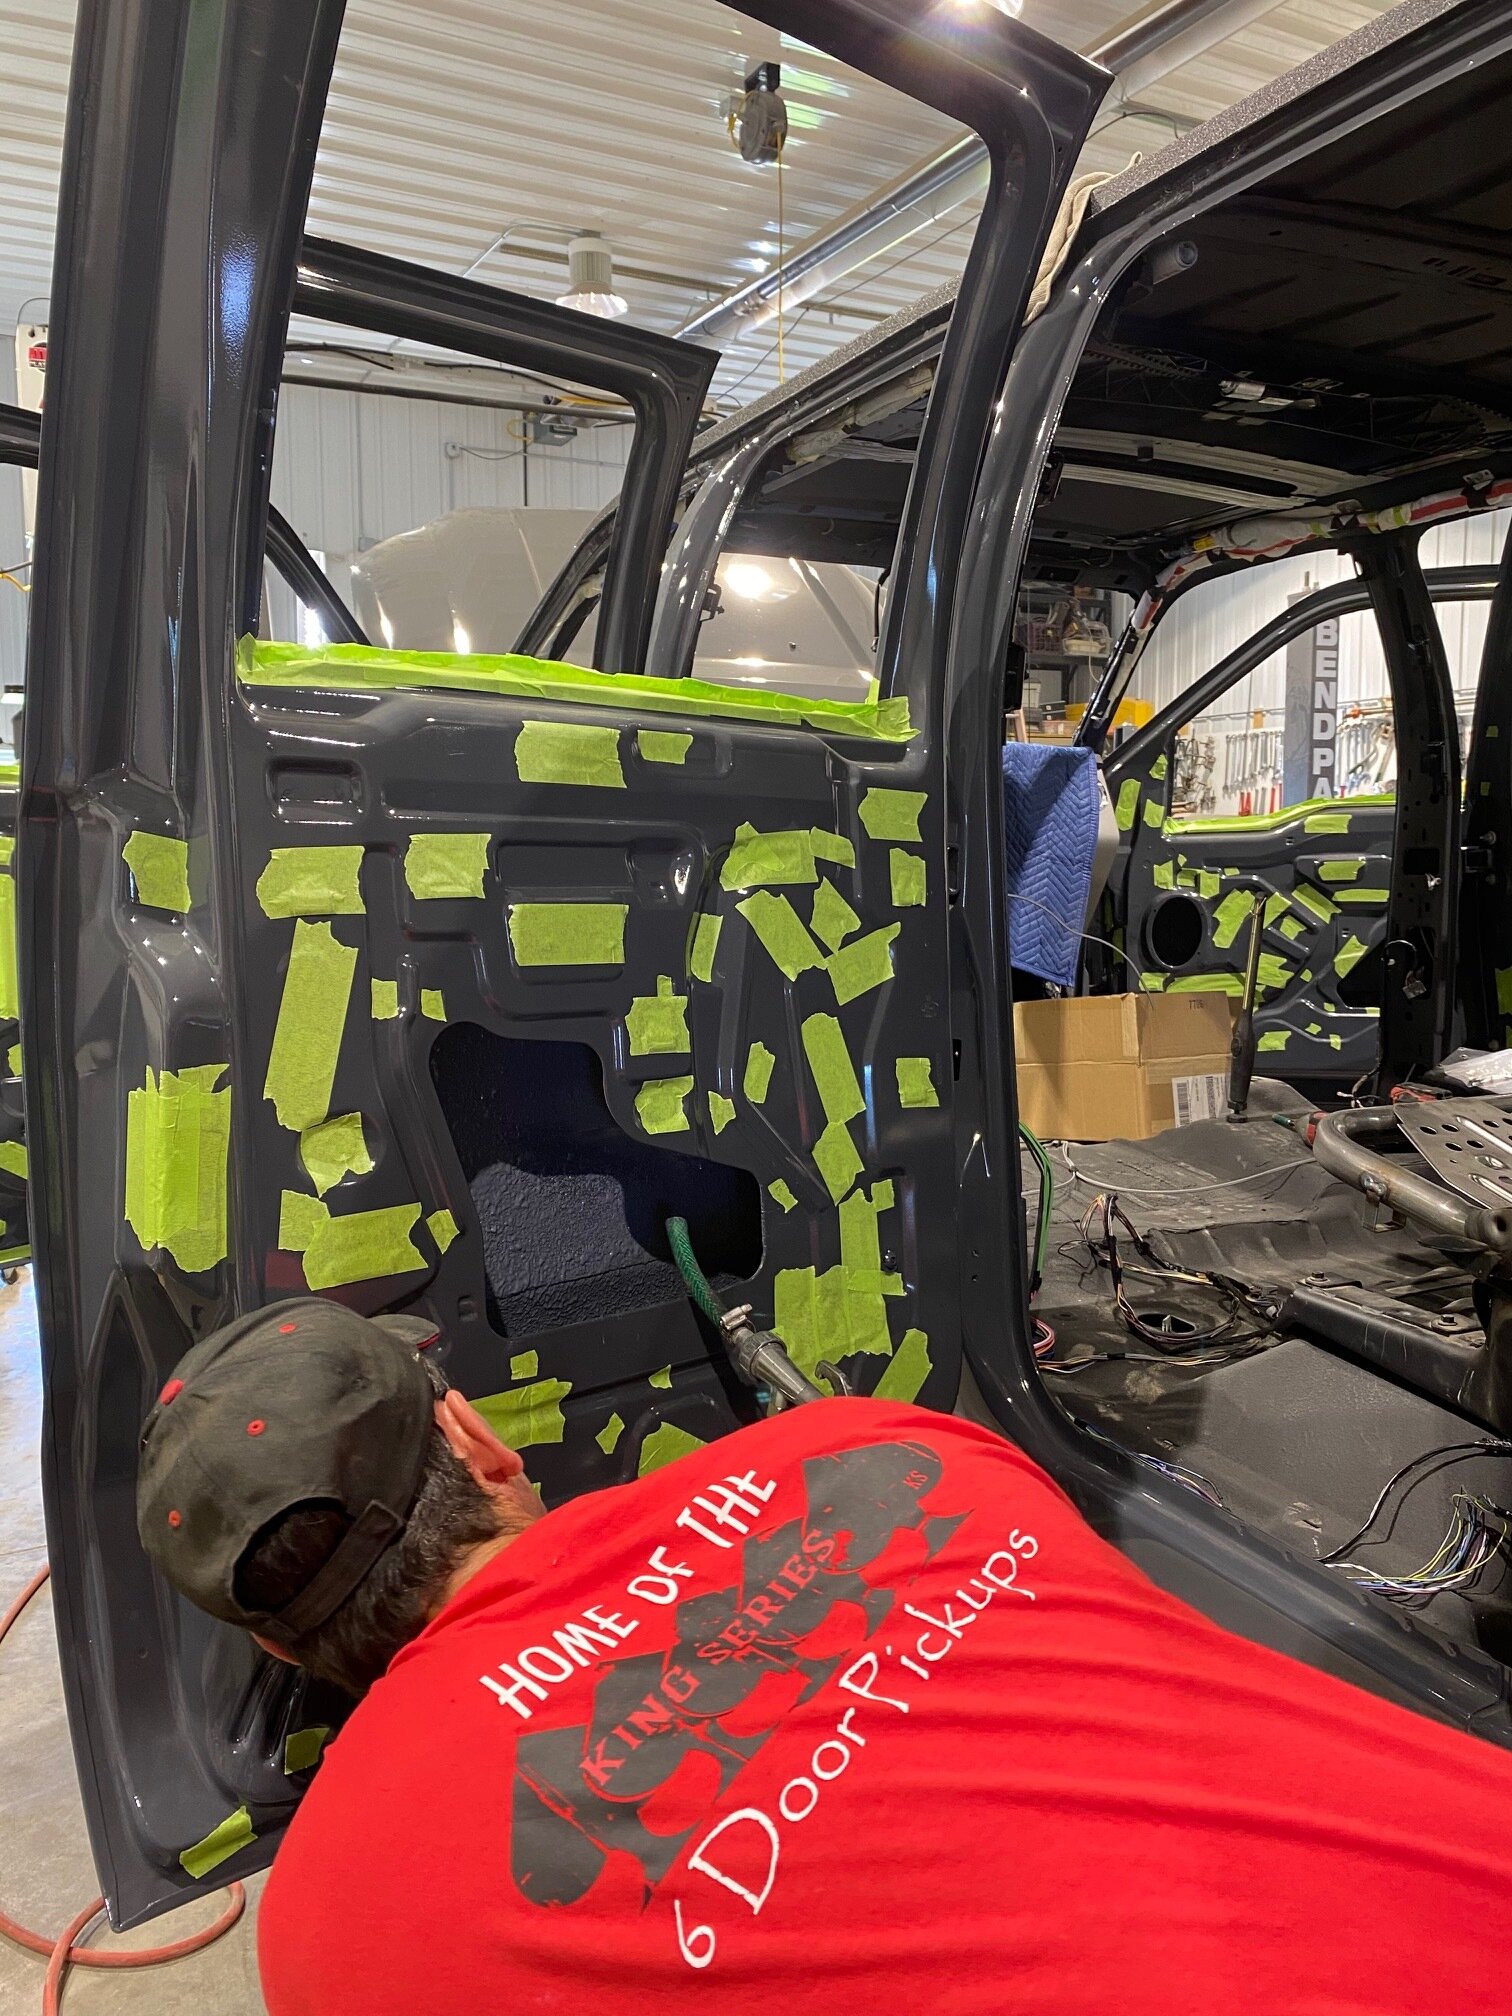
Use the 90º tip for hard-to-reach places such as door skins. See the instruction manual for more details.
If you are applying both products, make sure that the Sound Control has cured completely (24 hours at 70ºF) before applying Ceramic Insulation. The warmer it is, the quicker the coating will dry. Do not force cure by aiming a heat source at the wet coating. It must air dry. Once the Sound Control has cured, just repeat the above steps taking the varying air pressures required for each product into account.
Make sure to clean all equipment thoroughly immediately after use. If you aren’t able to, at least place the equipment into a bucket of water for easy cleaning later. Run water through the sprayer after you have finished the application so that the sprayer doesn’t clog on the next coat or the next time you spray.

